Build Your Dream Event: The Ultimate DIY Mobile Serving Cart Plan
Craft the centerpiece of your next event with our comprehensive, step-by-step project plan!
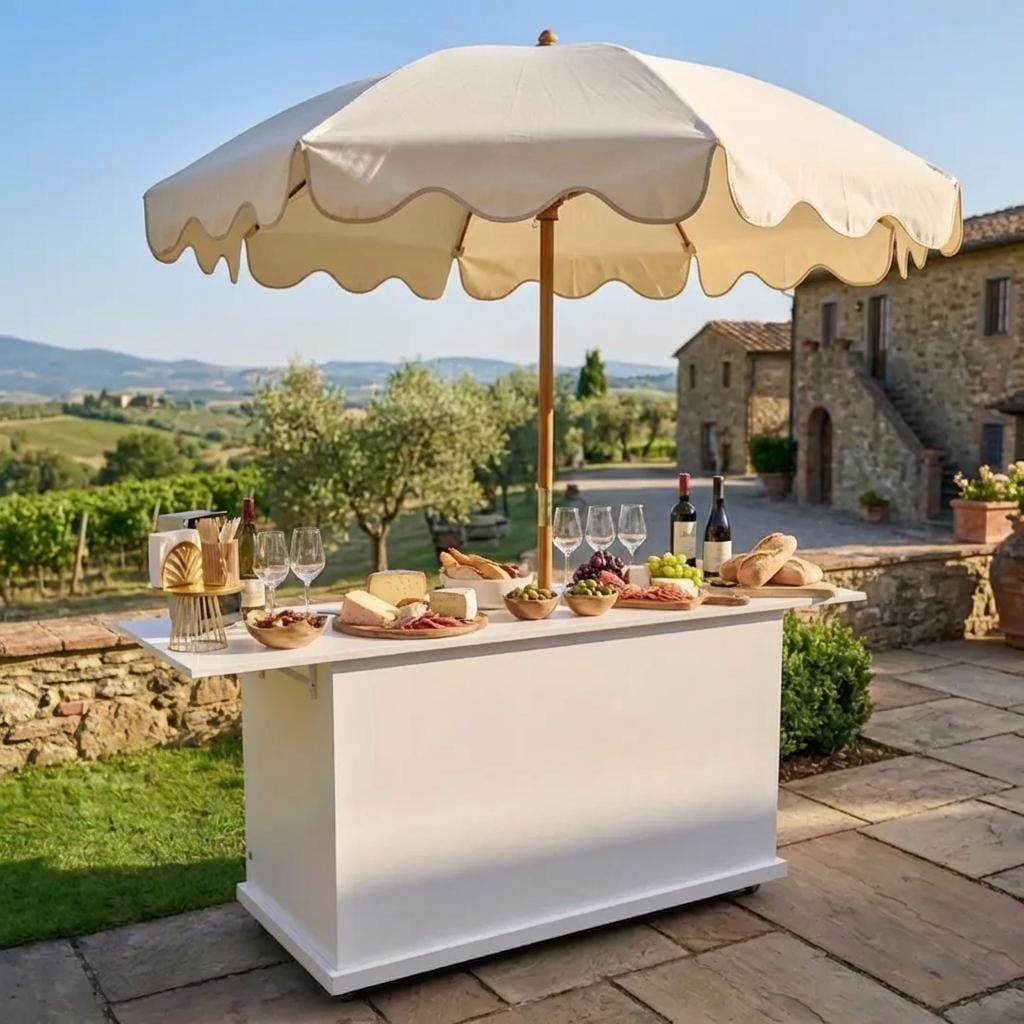
Imagine effortlessly serving your guests from a stunning, custom-built cart that perfectly complements your unique style. This isn't just a project; it's your ticket to creating the ultimate custom food cart or a show-stopping mobile bar. Our meticulously designed PDF guide gives you all the tools and knowledge to bring this elegant, modern design to life, allowing you to showcase your culinary creations with pride.
Unmatched Customization & Versatility
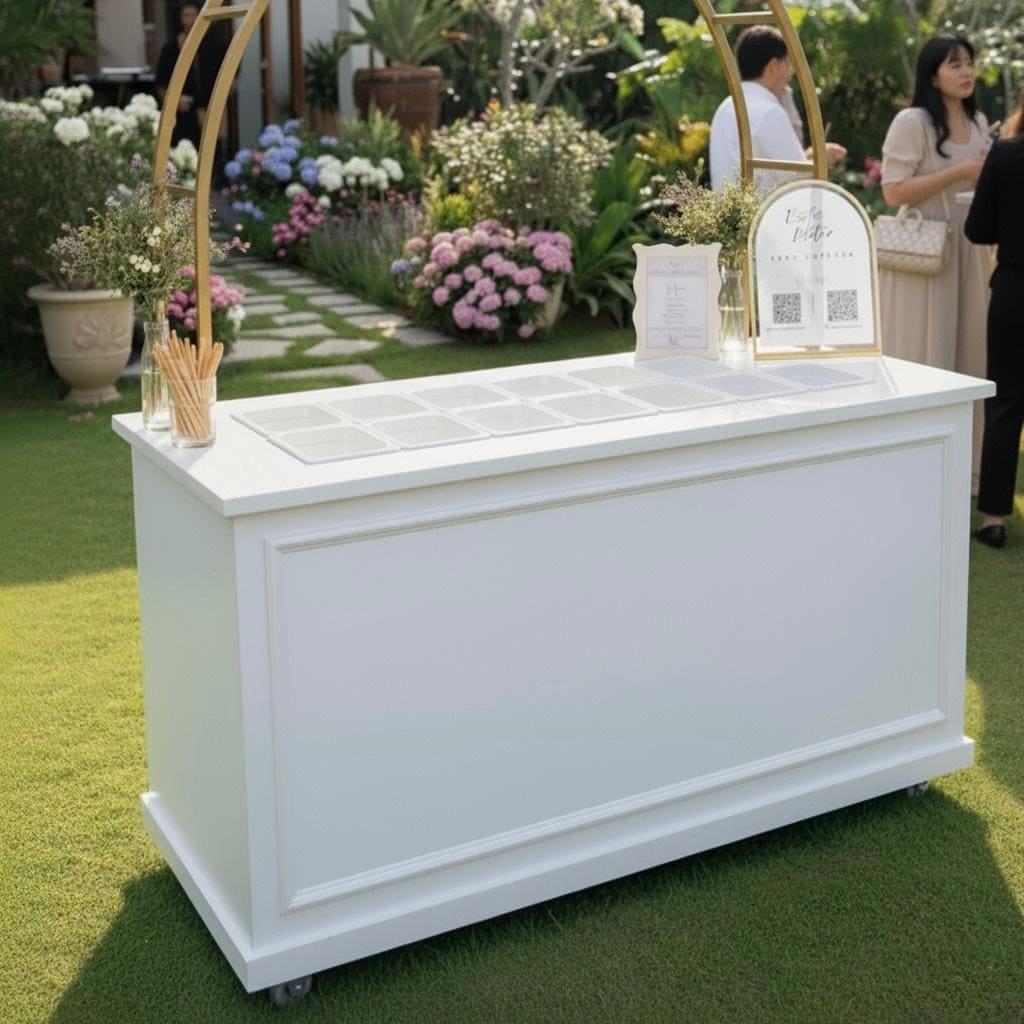
This is the most flexible DIY plan you'll find. It’s perfect for everything from an intimate family gathering to a grand wedding cart. Our plan includes six distinct countertop layouts, so you can tailor your cart to your specific needs.
Option 1: The Classic. A smooth, solid top for a minimalist look or a versatile workspace.
Option 2: The Charcuterie Dream. Multiple cutouts for a stunning charcuterie cart.
Option 3: The Party Pro. Two large cutouts, perfect for holding beverage tubs on ice, making it the ultimate party cart.
Options 4-6: A variety of other layouts to suit your serving style.
Effortless Portability & Smart Design
Designed with convenience in mind, this foldable cart features two sturdy folding wings that provide extra serving space when you need it and neatly tuck away when you don't. The heavy-duty 3" locking casters ensure that your beverage cart glides effortlessly over any surface, and locks securely in place, even when fully loaded. This collapsible cart is not just beautiful; it’s a masterclass in functional, space-saving design.
The Perfect Fit for Any Occasion:
For the Entrepreneur: Transform your passion into a business with a professional-looking vendor cart.
For the Host: Impress your guests with a stunning bar cart or coffee cart.
For the DIY Enthusiast: Experience the satisfaction of building a high-quality, professional piece with our easy-to-follow guide. This is the DIY Cart project you've been waiting for.
What You Will Receive:
Upon purchase, you will receive an instant digital download of a comprehensive PDF file that includes everything you need to build your own mobile bar.
Detailed Cut List: All parts are labeled with clear letters and precise inch measurements.
Shopping List: A complete list of all required tools and hardware.
Step-by-Step Instructions: Easy-to-follow, detailed instructions for every stage of assembly, from cutting the panels to installing the casters.
Six Countertop Options: Choose the perfect layout to suit your specific serving needs.
Start building your dream cart today!
This plan is the perfect starting point for anyone looking to build a beautiful, versatile, and professional-looking serving cart. Get ready to roll out your next event with style and ease.
Note: This listing is for a digital PDF plan only. You are not purchasing a physical product.
📐 DIY Builder & Woodworking Specifications
1. Lumber Selection & Materials Guide
Select standard construction lumber such as Pine, Fir, or Spruce for a budget-friendly build, or hardwoods like Oak, Maple, Walnut, or Poplar if you want a premium furniture-grade heirloom piece. Ensure the boards are straight, dry, and free of large loose knots that could compromise the structural integrity of the joinery.
2. Framing & Structural Assembly
Building this DIY Mobile Bar Cart Plan starts with constructing a rigid rectangular chassis. Using 2x4 framing members joined with pocket holes ensures the cart can support heavy espresso machines, grinders, and fully loaded liquid tanks (easily exceeding 150 lbs). The upright supports should be squared perfectly using a speed square before securing. Ensure the base has proper clearance and reinforcement blocks for mounting 4-inch or 5-inch heavy-duty locking casters for smooth mobility across patios and event venues.
3. Joinery & Fastener Guidelines
This plan is optimized for pocket hole joinery, face-screws, and wood glue. Always pre-drill pilot holes when driving screws near board ends to prevent splitting the wood. Apply a thin, even layer of waterproof PVA wood glue to all mating surfaces before clamping and driving screws. Clamping the joints tightly before fastening prevents the boards from shifting out of alignment as the screw threads engage the receiving piece.
4. Sanding & Professional Finishing
Sand all surfaces smooth using a random orbit sander, starting with 100-grit for rough spots and finishing with 220-grit for a silky texture. Apply a pre-stain wood conditioner to ensure even color absorption, followed by your choice of oil-based or water-based wood stain. Seal the piece with 3 coats of polyurethane or polycrylic, sanding lightly with 320-grit paper between coats for a professional finish.
5. Dual Measurement & Layout Systems
This blueprint features dual measurements, listing both Imperial (inches) and Metric (millimeters) specifications side-by-side. The material lists and wood cut diagrams are optimized for standard lumber yards and hardware retailers. Follow the color-coded cutting layout to minimize wood waste and maximize your material yield.
📐 Measurement Converter
Enter a value above to convert
Quick Lumber Sizes
Builder Q&A
A
The DIY Mobile Bar Cart Plan: Foldable Beverage & Food Cart (PDF Download) PDF download contains a comprehensive set of blueprints. You will receive: a precise shopping list for lumber and hardware, an exact cut list to minimize wood waste, detailed 3D exploded assembly diagrams, step-by-step building instructions, and expert tips for finishing. Everything is designed to make your DIY build smooth and successful.