Sensory Mud Kitchen Build Guide with Real Drop-In Sink
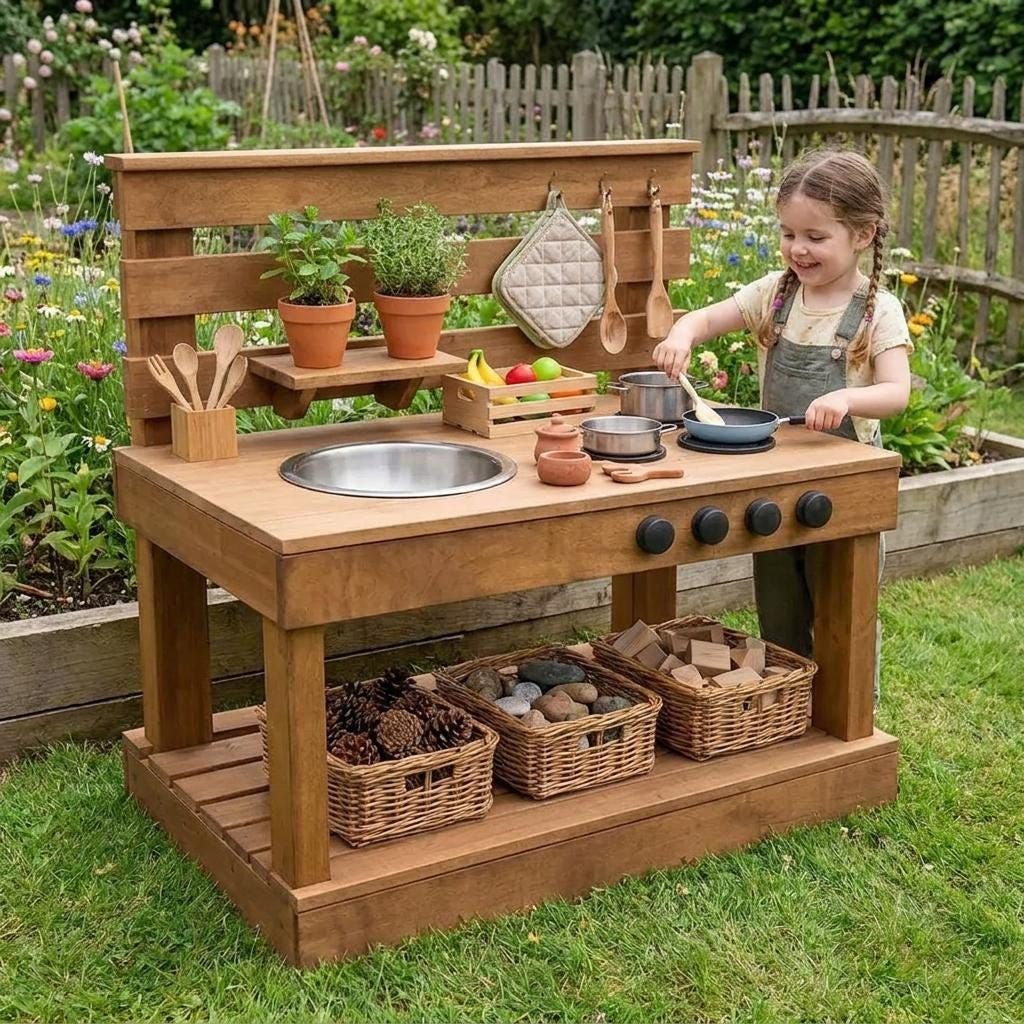
Water play is one of the most powerful tools for early childhood sensory development, and a mud kitchen with a real functional drop-in sink takes outdoor play to an entirely new level. Whether you are building for a toddler learning to pour and measure, a group of preschoolers running a backyard restaurant, or older children experimenting with mud potions and nature science, adding running water transforms a simple wooden bench into a fully immersive outdoor kitchen experience. If you are new to mud kitchens, start with our beginner mud kitchen guide first.
This complete build guide walks you through every stage of the project — from choosing the right sink type to routing water lines, cutting the sink opening cleanly, and finishing the timber for all-weather durability.
1. Why a Real Sink Changes the Play Experience Completely
A basic wooden mud kitchen shelf gives children surfaces to mix and pour. But the moment you add running water — even just gravity-fed from a suspended jug — the play becomes dramatically more realistic, more educational, and more engaging for longer periods.
Extended Play Duration and Deeper Engagement Research on outdoor play design consistently shows that water features extend unstructured outdoor play sessions significantly. Children return to a water-enabled play station multiple times throughout the day, creating new games and scenarios with each visit. A simple wooden bench without water gets visited once; a mud kitchen with a working sink becomes the center of the backyard.
Real Life Skills Through Play Turning a tap, filling a cup to a marked line, pouring water carefully into small containers, measuring out "ingredients" — these are all genuine kitchen skills that build fine motor control, hand strength, and procedural thinking. A mud kitchen with a sink makes this skill-building completely intuitive, embedded naturally in imaginative play.
Social and Cooperative Play Development A full-width mud kitchen (6 to 8 feet wide) with multiple work zones and a central sink allows several children to collaborate simultaneously. Children naturally negotiate roles — "I'm the chef, you wash the dishes" — developing communication, cooperation, and conflict resolution skills organically.
2. Planning Your Mud Kitchen Layout and Counter Height
Before you cut a single board, plan the sink's position carefully within the overall countertop layout, and set the counter height appropriately for your child's current age.
Counter Height by Age Group Setting the right counter height is critical for comfortable, safe play: * **Ages 2–3**: countertop height of **18–20 inches** (46–51cm) * **Ages 4–6**: countertop height of **22–24 inches** (56–61cm) * **Ages 7–10**: countertop height of **26–28 inches** (66–71cm)
If you want a "grow-with-them" design, build the base on adjustable threaded feet so you can raise the entire structure by 2–4 inches as your child grows over the years.
Sink Position for Easy Drainage Position the sink at one end of the countertop rather than dead center. Placing it at the side significantly simplifies routing the drain pipe — the drain line exits through the side cabinet wall rather than dropping through a central cabinet space where it blocks storage. The drain line must slope consistently downward at a minimum **1/4 inch per foot (20mm per 300mm)** to ensure gravity drainage flows without stagnant water sitting in the pipe.
Hose and Water Supply Entry Point If using a direct garden hose connection, plan where the supply hose enters the cabinet. A single **1-inch (25mm) hole drilled through the back panel** allows a standard garden hose quick-connect fitting to thread through cleanly, keeping the exterior hose connection neat and flush.
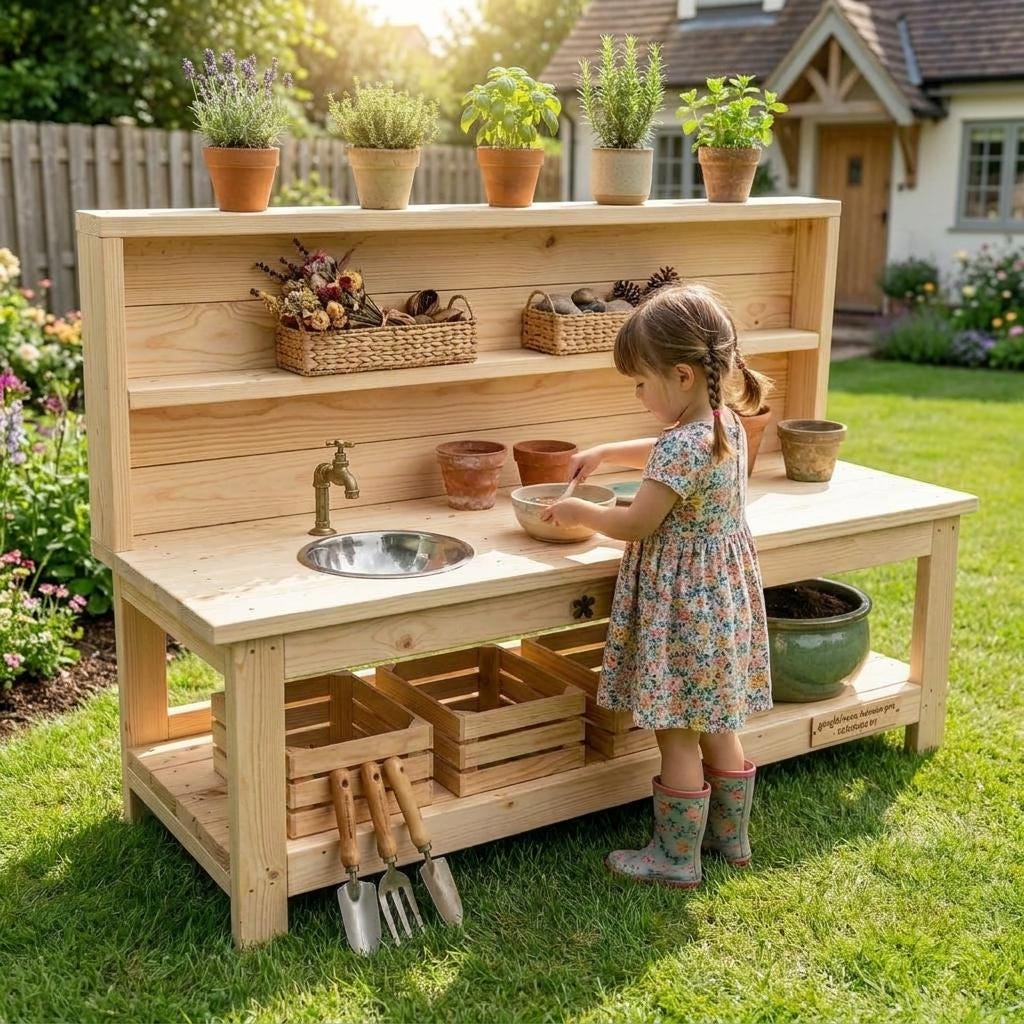
3. Selecting the Right Sink: Your Best Options
You don't need an expensive, brand-new sink to build a phenomenal sensory play station. Several budget-friendly options work perfectly for outdoor mud kitchen builds:
Secondhand Stainless Steel Bar Sinks A thrift store or salvage yard stainless steel bar sink or laundry tub is the ideal choice. Stainless steel resists rust and weathering, is easy to clean with a quick rinse from the garden hose, and gives the mud kitchen a realistic, professional look that children love. Target a compact bar sink in the **10" to 14" width** (25–36cm) range — small enough to fit the countertop without dominating it.
Plastic Storage Tub Option (IKEA Trofast or Similar) A bright-colored plastic storage bin makes a lightweight, easy-to-remove basin. Children can lift it out and tip it over to dump when their "cooking" is complete — no permanent drain connection required. This is an excellent starter option for very young children (ages 2–3) where a permanent plumbing connection adds unnecessary complexity.
Enamel Farmhouse Mini Sink For a premium vintage aesthetic, small enamel farmhouse sinks occasionally appear at architectural salvage stores and online marketplaces. Their flat-rim design sits flush against the countertop surface without a separate mounting bracket. They are heavier than stainless steel but create a stunning visual centerpiece.
4. Tools and Materials Required for the Full Build
Primary Power Tools * **Jigsaw** — essential for cutting the sink opening accurately * **Cordless drill and impact driver** — for pilot holes, countersinks, and all fasteners * **Miter saw or circular saw** — for cutting all lumber to dimension * **Random orbit sander** — for smooth finishing and surface preparation
Lumber and Sheet Goods * **2×4 framing studs** — structural base frame, legs, and horizontal rails * **1×4 or 1×6 cedar fence pickets** — countertop surface and exterior cladding panels * **3/4-inch exterior plywood** — optional countertop substrate for extra rigidity
Hardware and Fasteners * **Deck screws**: 1-5/8" and 2-1/2" lengths, coated weather-resistant * **Pocket hole screws**: 1-1/4" (for face-joined countertop boards) * **Pipe strap brackets** — to secure drain pipe to cabinet interior * **P-trap drain assembly** — standard 1.25" size (available at any hardware store) * **Garden hose quick-connect fitting** — or rechargeable USB pump kit for self-contained water supply
5. Step-by-Step: Cutting a Clean Sink Opening in the Countertop
Cutting the sink opening is the most visually prominent and technically critical step in the entire build. A clean, accurate cut determines whether the sink sits flush and professional or sits crooked and gapped.
Step 1: Mark the Outline and Lip Border Flip your sink or basin upside-down on the assembled countertop surface. Trace around the **outer perimeter** of the sink rim with a pencil. Now draw a **second inner line exactly 1/2 inch (12mm) inside** the first line, all the way around. This inner line is your actual cut line. The 1/2-inch margin creates the lip that the sink rim rests on after installation.
Step 2: Drill the Starter Hole Using a 3/4-inch (19mm) spade bit, drill a **starter hole inside the cut line** at one corner of the marked opening. Position the center of the starter hole hole approximately 3/8" inside the cut line so the entire hole falls within the waste piece. This allows the jigsaw blade to enter the countertop without tearing from the edge.
Step 3: Jigsaw Cutting Sequence With the jigsaw set to medium speed and a wood blade installed, insert the blade through the starter hole and carefully follow the inner cut line in a smooth, continuous motion. **Support the cut-out piece from below with your free hand** as you near the end of the cut — the waste piece falling away suddenly can tear the countertop surface grain. Cut completely around, then lower the waste piece straight down and remove it.
Step 4: Sand and Seal the Raw Exposed Edges Sand the interior cut edges progressively — starting with 80-grit to remove jigsaw tear-out, then 120-grit for smoothness. Apply **two coats of exterior waterproof wood sealant** to all raw cut edges before dropping in the sink. This prevents the exposed end grain from absorbing water and eventually swelling, which can lock the sink in place over time.
6. Setting Up Running Water: Two Practical Plumbing Options
To get running water flowing into your mud kitchen, there are two practical approaches depending on your backyard setup and desired level of mobility:
Option A: Direct Garden Hose Connection Install a simple outdoor faucet or hose bib on the mud kitchen backsplash panel. Run a short section of garden hose from your main backyard water tap through the back panel hole to this faucet. This provides **unlimited running water** at full pressure and is the simplest long-term solution if your mud kitchen sits within 25 feet of an exterior hose connection. Install a child-friendly lever handle rather than a round knob — much easier for small hands to operate confidently.
Option B: Self-Contained USB Rechargeable Pump System For maximum portability — placing the mud kitchen anywhere in the yard without a hose tether — use a **self-contained gravity tank and pump setup**: * Place a **5-gallon (19L) water jug** inside the lower cabinet * Connect a **12V rechargeable USB submersible pump** with a short section of 1/2-inch food-grade tubing * Route the tubing up through the countertop to a simple outdoor faucet mounted on the backsplash
A single USB charge typically powers the pump for 4–6 hours of active play time. The system is completely self-contained, portable, and appropriate for toddlers because the water pressure is low and controllable. Refill the jug daily during heavy summer use.
7. Finishing, Accessories, and All-Weather Protection
Child-Safe Exterior Wood Sealant Finish all timber surfaces with an exterior-grade, low-VOC or zero-VOC wood finish. Look specifically for products labeled **child-safe when cured** — most exterior clear sealants are safe once fully cured (24–72 hours after final coat). Apply 2–3 coats on all surfaces, paying particular attention to the countertop and any horizontal surfaces that will hold standing water regularly.
Faux Burner Knobs and Realistic Accessories Add extraordinary play value with faux stove knobs cut from **1.5-inch (38mm) diameter hardwood dowel rods**, sliced into 3/4-inch thick discs and painted with non-toxic black exterior paint. Mount each knob through the backsplash panel using a carriage bolt with a washer and wing nut on the rear — children love turning real knobs, and this simple addition transforms the backsplash into a functional-looking stove panel.
Chalkboard Menu Board Panel Mount a **chalkboard-painted panel** above the backsplash as a menu board or recipe area. Use standard exterior-grade MDF sealed with two coats of chalkboard paint. This feature adds incredible creative play value — children write menus, draw recipes, and keep score of imaginary restaurant orders.
Seasonal Storage and Annual Maintenance At the end of the outdoor play season (or before any hard freezes), take these steps to protect your mud kitchen: * Drain all water lines completely and remove the pump * Clear any debris from the drain pipe * Cover the entire structure with a breathable waterproof furniture cover * Refresh the timber sealant every **12–18 months** — the countertop and horizontal surfaces accumulate more UV and moisture exposure than vertical panels
Building a mud kitchen with a functional drop-in sink is one of the most rewarding weekend DIY projects you can make for your children. The developmental benefits, creative engagement, and sheer joy it provides over many years make every hour spent in the workshop completely worthwhile. Download our full woodworking blueprint to get precision-dimensioned plans, an optimized cut list, and step-by-step 3D assembly diagrams.
Ready to build this project?
Skip the measurement calculations. Download our high-fidelity, dual Imperial/Metric PDF woodworking blueprint containing fully optimized materials lists.
View Mud Kitchen Plans