Step-by-Step Guide: How to Read Woodworking Blueprints & Cut Lists
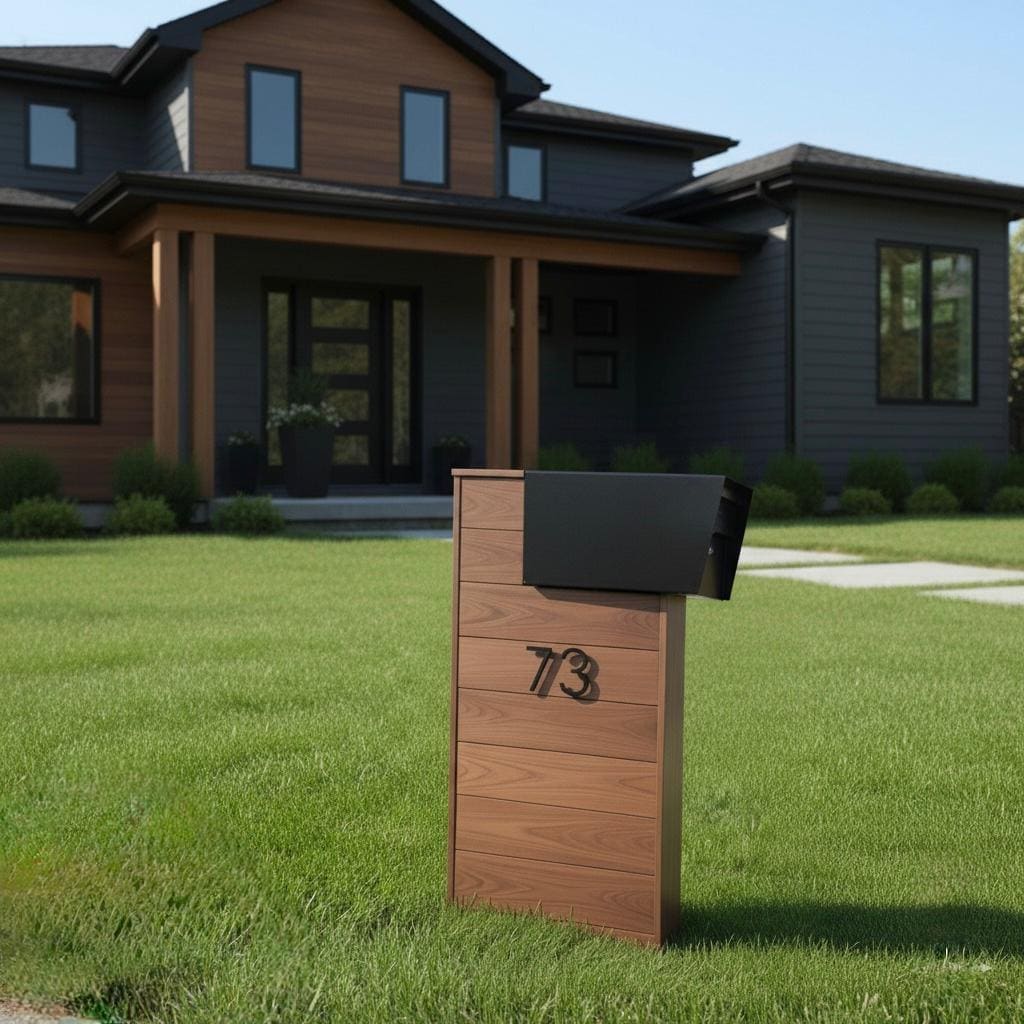
Reading a woodworking plan for the first time can feel like translating a foreign language — filled with cryptic abbreviations, multiple projection views, confusing lumber sizing, and dense cut tables. But once you understand the system, blueprints become your single most powerful tool in the workshop. This complete guide explains exactly how to interpret every element of a professional woodworking blueprint, from the title block to the optimized cut sheet.
1. The Anatomy of a Professional Woodworking Plan
Before you make a single mark or cut, spend time studying the entire plan sheet from top to bottom. A well-structured woodworking blueprint is not just a drawing — it is a complete construction manual divided into several distinct zones.
The Title Block Every professional plan begins with a title block, typically positioned in the bottom-right corner of the sheet. It contains the project name, drawing revision number, scale ratio, total sheet count, date, and designer information. **Always check the revision number first** to confirm you are working from the most current version of the plan. Using an outdated revision is one of the most common and costly beginner mistakes.
Orthographic Projection Views Most woodworking plans include three standard elevation views of the project: a **Front Elevation** (what you see from the front), a **Side Elevation** (viewed from the left or right), and a **Top Plan View** (also called a Bird's Eye View, seen from directly above). Together, these three views provide a complete picture of the finished structure from every angle. When a dimension in the front view appears ambiguous, always cross-reference it with the corresponding side or top view.
Section Cuts and Detail Callouts Complex joints, hidden structural members, and internal connections are illustrated via section cut diagrams — views that represent a conceptual "slice" through the structure to expose what lies beneath the surface. Look for circle or bubble markers with reference letters on the primary elevation views. These letters correspond to matching detail diagrams shown elsewhere on the sheet or on a supplemental detail page.
2. Dimensional Sizing: Nominal vs. Actual Lumber
This is the most widely misunderstood aspect of woodworking plans — and it causes expensive errors even among experienced builders. The fundamental rule to memorize: what you order at the lumber yard is NOT what you get.
Shopping Dimensions (Nominal Sizes) Lumber is named using its rough-sawn green dimensions before the kiln-drying and surface-planing process removes material. Here are the most common nominal-to-actual conversions: * A **"2x4"** stud is actually **1.5" × 3.5"** (38mm × 89mm) * A **"1x4"** board is actually **0.75" × 3.5"** (19mm × 89mm) * A **"2x6"** is actually **1.5" × 5.5"** (38mm × 140mm) * A **"4x4"** post is actually **3.5" × 3.5"** (89mm × 89mm)
Blueprint Sizing (Actual Cut Dimensions) Quality woodworking plans always display two dimension references side-by-side: the nominal size for purchasing at the lumber yard, and the actual cut dimensions for marking in the workshop. A well-formatted callout reads: *"Order as: 2×4 — Cut at: 1.5" × 3.5" × 48" / 38 × 89 × 1219mm"*. When in doubt, always build using the actual dimensions shown on the cut table — never the nominal ordering size.
Sheet Goods and Plywood Sizing Plywood and MDF sheet goods are sold in standard 4×8 foot (1220×2440mm) panels in thicknesses from 1/4" to 3/4". Unlike dimensional lumber, plywood actual thickness is typically very close to nominal. A "3/4-inch" plywood sheet typically measures 23/32" (18.3mm). Cut lists specify sheet quantities at specific thicknesses to prevent under-ordering.

3. Reading the Bill of Materials and Cut List Table
The Bill of Materials (BOM) and cut list are your official shopping list and production schedule combined. A properly formatted cut list eliminates guesswork completely.
Cut List Table Columns Explained A standard woodworking cut list table contains the following columns: **Piece Label** (A, B, C... or numbers), **Description** (e.g., "Front Top Rail"), **Quantity** (total pieces required), **Thickness**, **Width**, **Length**, and often a **Notes** column for special operations like dadoes, rabbets, or edge profiles. Both imperial and metric columns are shown side-by-side in dual-measurement plans.
Lumber Grain Direction Indicators Some individual pieces on the cut list include a grain direction arrow or a (G↕) notation. This specifies whether the wood grain must run lengthwise (parallel to the long dimension) or across the piece. Grain direction is critical for appearance panels like door faces, drawer fronts, and tabletops — getting this wrong creates a visually inconsistent finish.
Hardware and Fastener Schedules Directly below or alongside the cut list, a hardware schedule lists every screw, bolt, bracket, dowel, and finishing product required. Pay close attention to pilot hole diameter recommendations — drilling an undersized pilot hole splits the wood, while an oversized hole fails to grip. The schedule specifies exact gauge, length, and drive type (e.g., "#8 × 1-5/8" Torx Drive Deck Screw, 48 pieces").
4. Exploded 3D Assembly Diagrams: The Heart of Modern Plans
Modern woodworking blueprints use exploded 3D CAD isometric views rather than flat 2D line drawings. These diagrams show every board floating in space with axis separation lines, making it immediately clear how each piece aligns and connects to its neighbors.
Reading Assembly Sequence Numbers Exploded views include numbered callout circles that dictate the assembly sequence. Always start with **Step 1** and work progressively through the sequence. Assembly order matters enormously — some structural members become physically inaccessible once adjacent components are fastened in place. Skipping ahead almost always creates a situation requiring disassembly.
Fastener Callout Leaders Leader lines with arrowheads point from exploded joint areas to fastener specification text. A typical callout reads: *"2× #8 × 1-5/8" Deck Screw — Countersink & Plug"*. This tells you: use two screws of that specification, pre-drill a countersink hole so the head sits below the surface, then cover with a matching wood plug for a clean finish. Never guess fastener placement — always reference the exploded diagram.
Grain Match Indicators for Glue-Ups Plans for face-glued panels (like cutting boards or tabletops) include grain match arrows showing how individual boards should be oriented relative to each other. Alternating the growth ring direction (cup up/cup down) in adjacent boards minimizes future warping as the wood acclimates.
5. Understanding Optimized Cut Sheets and Waste Reduction
An optimized cut layout — also called a nesting diagram or cut optimization sheet — shows the most material-efficient arrangement of all cuts on a standard plywood sheet or board length. Following the nesting sequence minimizes offcut waste and ensures you don't run out of material mid-project.
How to Navigate the Nesting Diagram Each piece to be cut is drawn as a labeled rectangle on the sheet, positioned to minimize the gaps between cuts. Pieces sharing the same sheet are color-coded or labeled by their cut list designation (A, B, C). Work from one corner of the sheet, cutting pieces in the exact order shown — always making the longest rip cuts first to break the sheet down to manageable widths, then cross-cutting individual pieces to final length.
Kerf Allowance in Cut Layouts A professional nesting diagram accounts for the saw blade kerf width (typically 1/8" for a standard circular saw blade) in the spacing between adjacent cuts. If you use a blade with a significantly thicker or thinner kerf than shown, adjust your cutting positions accordingly to avoid parts coming out undersized.
6. Common Blueprint Symbols and Abbreviations
Knowing standard woodworking drawing symbols prevents costly misinterpretation: * CL = Centerline (shown as an alternating dot-dash line) * TYP = Typical — applies the same detail to all similar instances on the sheet * OC = On Center — measurement taken from center-to-center of repeating elements * PH = Pocket Hole * CTR = Countersink (pre-drill to recess the screw head) * RO = Rough Opening (used for windows or door frames) * NTS = Not To Scale (the drawn element is diagrammatic, not measured) * DAD = Dado (a rectangular channel cut across the grain) * RBT = Rabbet (an L-shaped notch cut along an edge or end)
7. Pro Workshop Habits for Accurate Blueprint Execution
Once you have studied and understood the plan completely, follow these professional workshop routines to build accurately and efficiently:
Print at 100% Scale and Verify Calibration If printing at home, always set the printer to **100% scale** (never "fit to page"). Once printed, measure the scale reference bar included on most blueprints with a ruler. If it does not measure exactly as labeled, your print is miscalibrated and every dimension will be incorrect.
Pre-Label All Cut Pieces As you cut each piece, immediately write its cut list designation (A, B, C...) lightly in pencil on its back face or a hidden edge. Keeping all pieces labeled prevents mix-ups during assembly — especially when many pieces share similar dimensions.
Dry-Fit Before Committing Before applying any wood glue or driving permanent fasteners, dry-fit the entire assembly using clamps. This confirms the structure is square, all cuts are correct, and all joinery fits cleanly. Discovering an error during a dry-fit costs nothing. Discovering it after glue-up costs the entire project.
Mark the Waste Side When marking a cut line, always place a large **X on the waste side** of the line. This prevents accidentally cutting to the wrong side of the line — a common beginner error that makes a piece 1/8" too short.
Reference from a Single Datum Edge When measuring a series of holes or notches along a board, always measure from the same reference edge. Measuring each feature from the previous one compounds small errors into large cumulative mistakes.
Building from a well-structured, dual-measurement PDF woodworking blueprint eliminates the guesswork and makes the difference between a project that goes together on the first try and one that wastes expensive lumber. Download our premium plans and start your next project with full confidence in every cut.
Ready to build this project?
Skip the measurement calculations. Download our high-fidelity, dual Imperial/Metric PDF woodworking blueprint containing fully optimized materials lists.
View Blueprint Example